PC Setup Instructions
Okta
Okta is a Cloud-based platform that will prompt users on the Synchrony Network to enter their SSO ID and Windows (ADSYF) password once to access multiple SSO applications.
For new Chromebook users who will be using the Citrix desktop, begin by logging into the Citrix Workspace App from the Synchrony Troubleshooting from Home background page.
1. Open the Citrix app at bottom of the screen.

2. A login screen will appear. Enter your SSO and your ADSYF password. Select the blue Sign-in button.

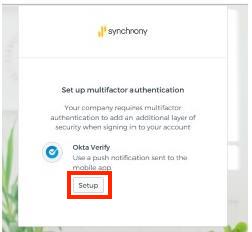
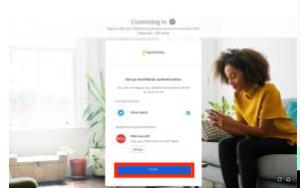
3. The below setup screen will appear. Select the Setup button under Okta Verify.
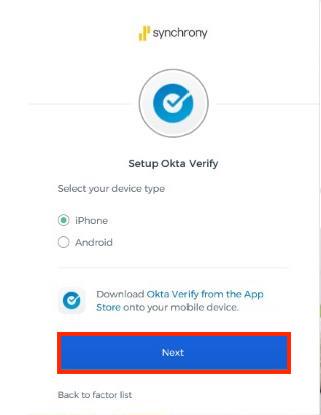
4. Select Your device type.
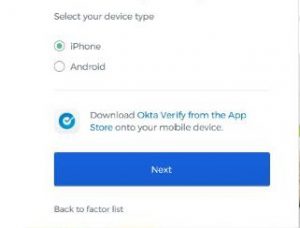
5. Download the Okta Verify App from The App Store / Play Store onto your mobile device.
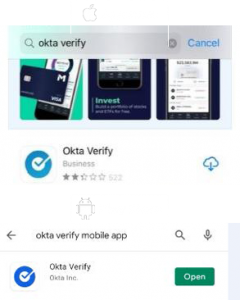
6. Open the Okta Verify app on your phone and grant the Camera Access and Push Notifications when prompted. These permissions need to be granted to set up access correctly.
Apple / Appstore: Select Add Account & then Continue to reach Add Account where you can scan a barcode.
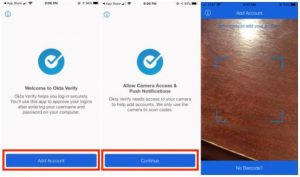
Android / Play Store: Select the + sign to add an account. Select Allow to reach Add account where you will scan a barcode.
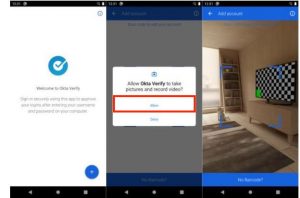
7. Go to the Setup Okta Verify on your Chromebook screen and select the Next button.
8. After you select Next, a QR code will appear. Scan the code with your phone while it is in the Add Account screen of the Okta Verify app.
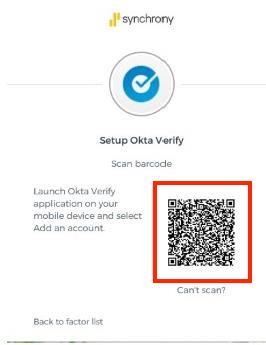
9. Once the QR code scans both your Chromebook/Laptop, the mobile phone screens will update.
Okta Verify app will display codes that will change every 30 seconds.

10. Select the Finish button at the bottom of screen.
If your QR code does not scan properly, click on “Can’t scan” located below the QR code.
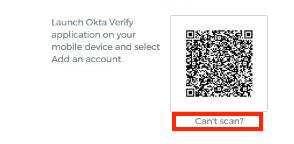
Options if QR code does not scan:
1. From the drop-down menu, select Send Activation Link via SMS.
2. Enter the mobile phone number where you downloaded the Okta Verify app. This is preferred on non-Synchrony mobile devices. Select Send.
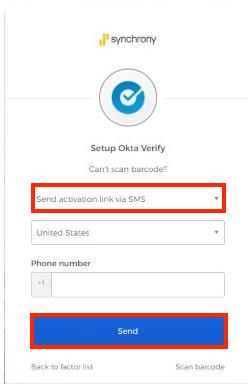
3. You will receive a text message containing a link to enroll the device.
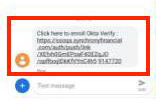
4. Select the link. You will see a screen indicating, “enrolling your device” followed by another indicating, “enrolled in Push Authentication”
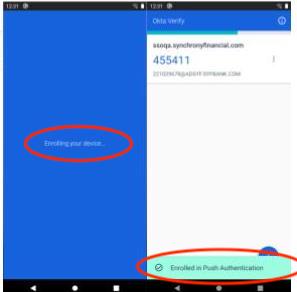
5. Select Finish.
You are now registered in Okta
You will use this to complete Multi-factor Authentication.
When logging into Citrix, after you enter your SSO and ADSYF password, you will be prompted to complete Okta Verification.
Option 1
1. Select Send Push
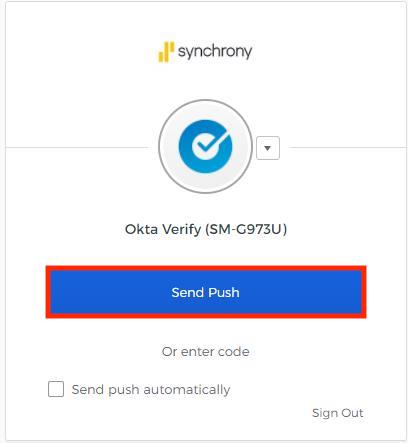
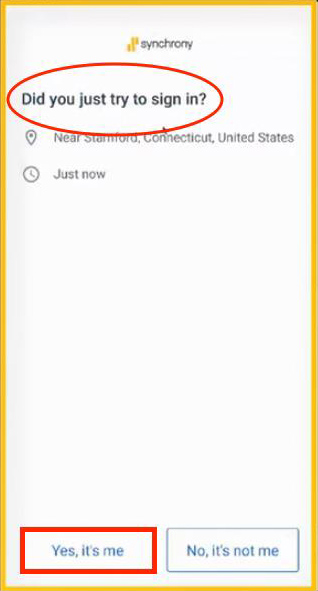
2. On your mobile phone, a notification from Synchrony will appear asking, “Did you just try to sign in?”
3. Select the Yes, it’s me button.
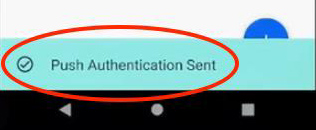
4. Your phone will indicate, “Push Authentication Sent” at the bottom of the Okta Verify code screen. Your Chromebook will automatically go to the Citrix screen or selected application.
Option 2
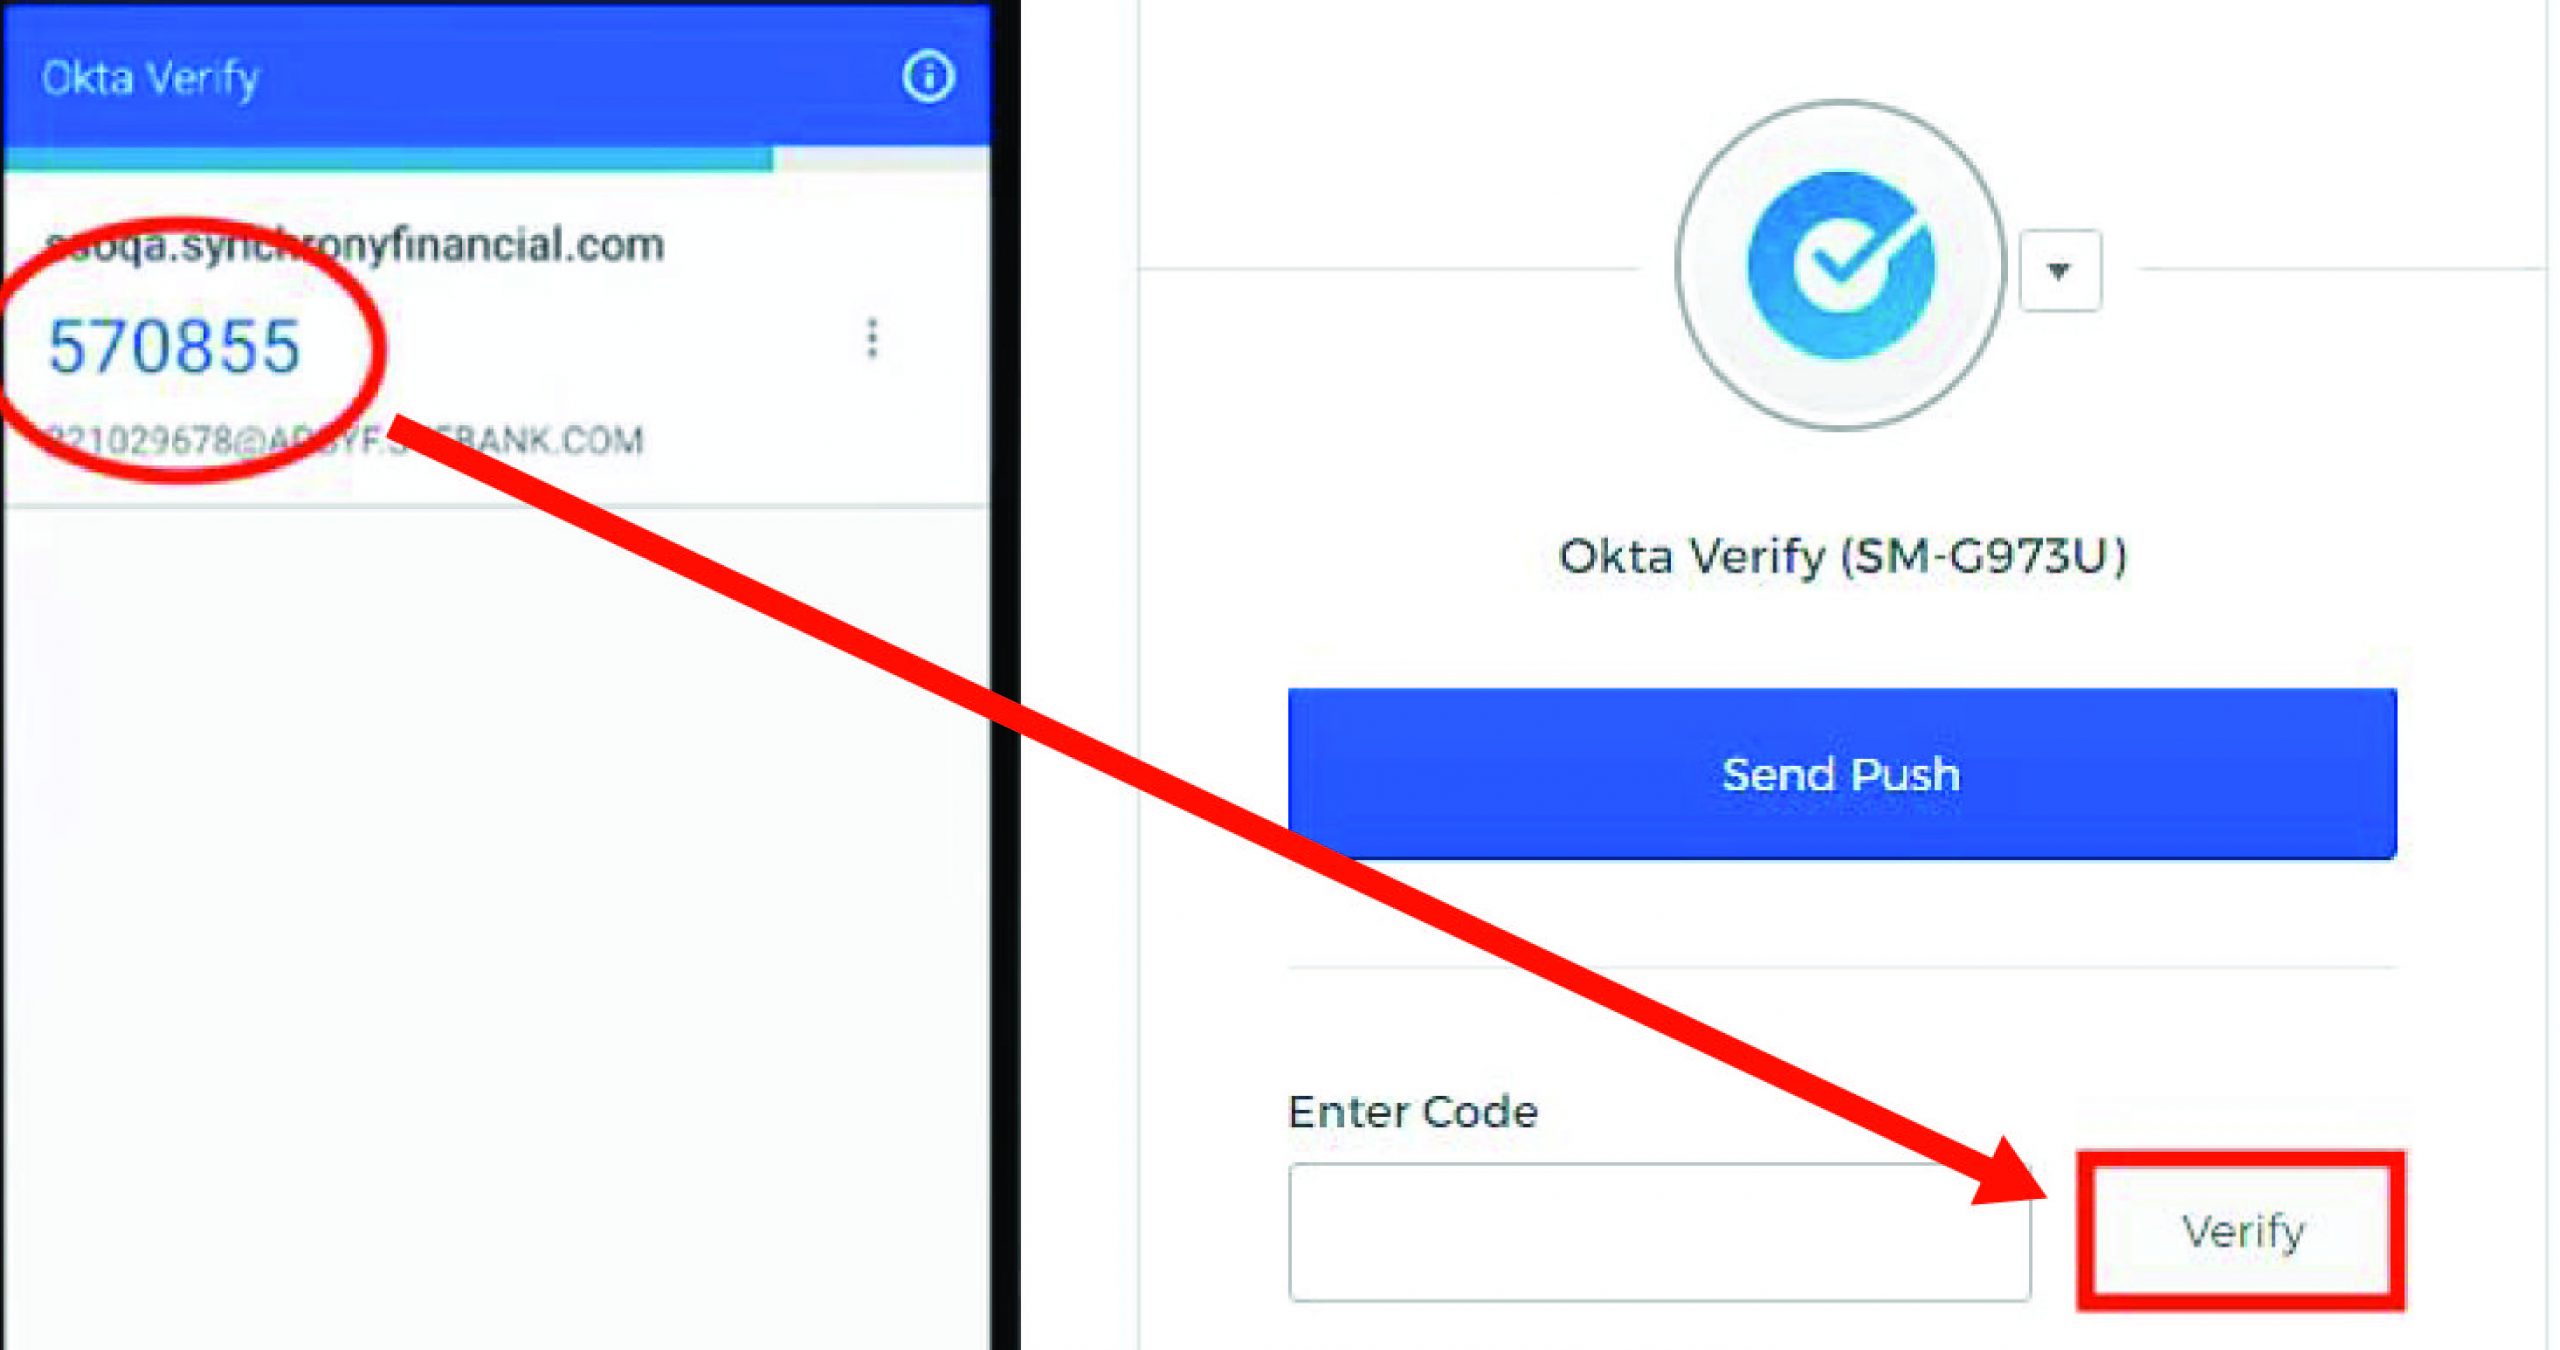
Another option to complete verification is to enter the Okta code displayed on the Okta app. At the Okta Verify prompt select “Or enter code” displayed under the blue Send Push button.

1. Open the Okta app on your mobile phone and enter the code in the box and select the Verify button. (The code will change every 30 seconds. Please ensure that the code is entered and submitted prior to it changing on the Okta app screen)
3. Enter the code from Okta app and select Verify.
Your Chromebook will automatically go to your Citrix screen or selected application.
2 of 11